
Sign up for a Test Prep Course
Get new student to sign up for a test prep course
Sign up for a Test Prep Course
Education
Get More Customers
Description
The Sign up for a Test Prep Course Campaign is a powerful way to get new students. It includes a course signup page that is optimized to convince people of the value of your course, and provides a no-risk way for them to start the signup process. This gets them to say “yes, I want to take this course” in a low-risk manner. You can then follow-up with them by phone or email after they sign up to get them to purchase your full course.
This leads to a much greater number of students taking your test prep course than if you asked them to purchase it right on the page – which is too much to ask all at the beginning. It would cause just about every visitor to leave without buying. Instead, this campaign gets people to enter their contact details first, so they’re able to start the sign up process with no risk. This makes it very likely that people will take this first, no-risk step, and you’ll be able to turn more of them into students than if you tried to ask them to buy right away.
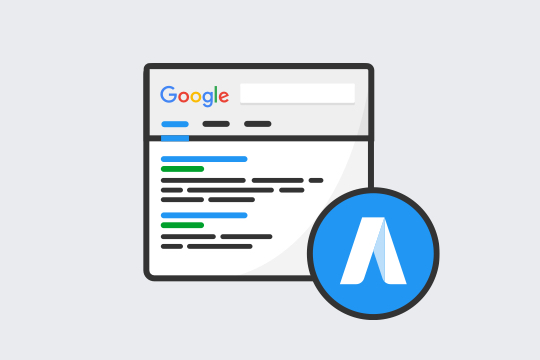
Step 1: Google Adwords Ad
Advertise to people when they search for your type of test prep course in your area to drive them to your Sign Up Page.
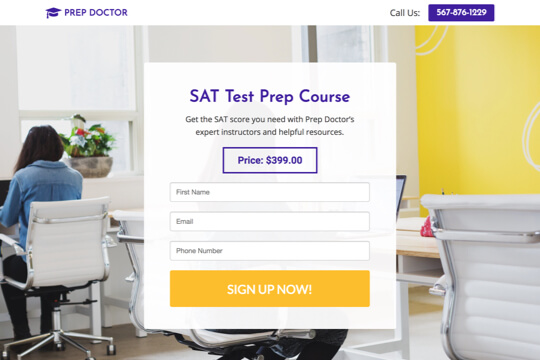
Step 2: Sign Up Page
On the Sign Up Page, people learn about your course and sign up for it using the signup form.
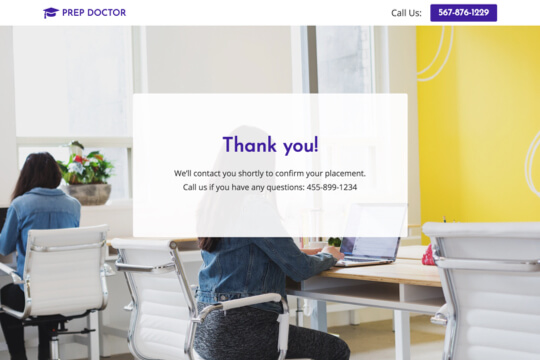
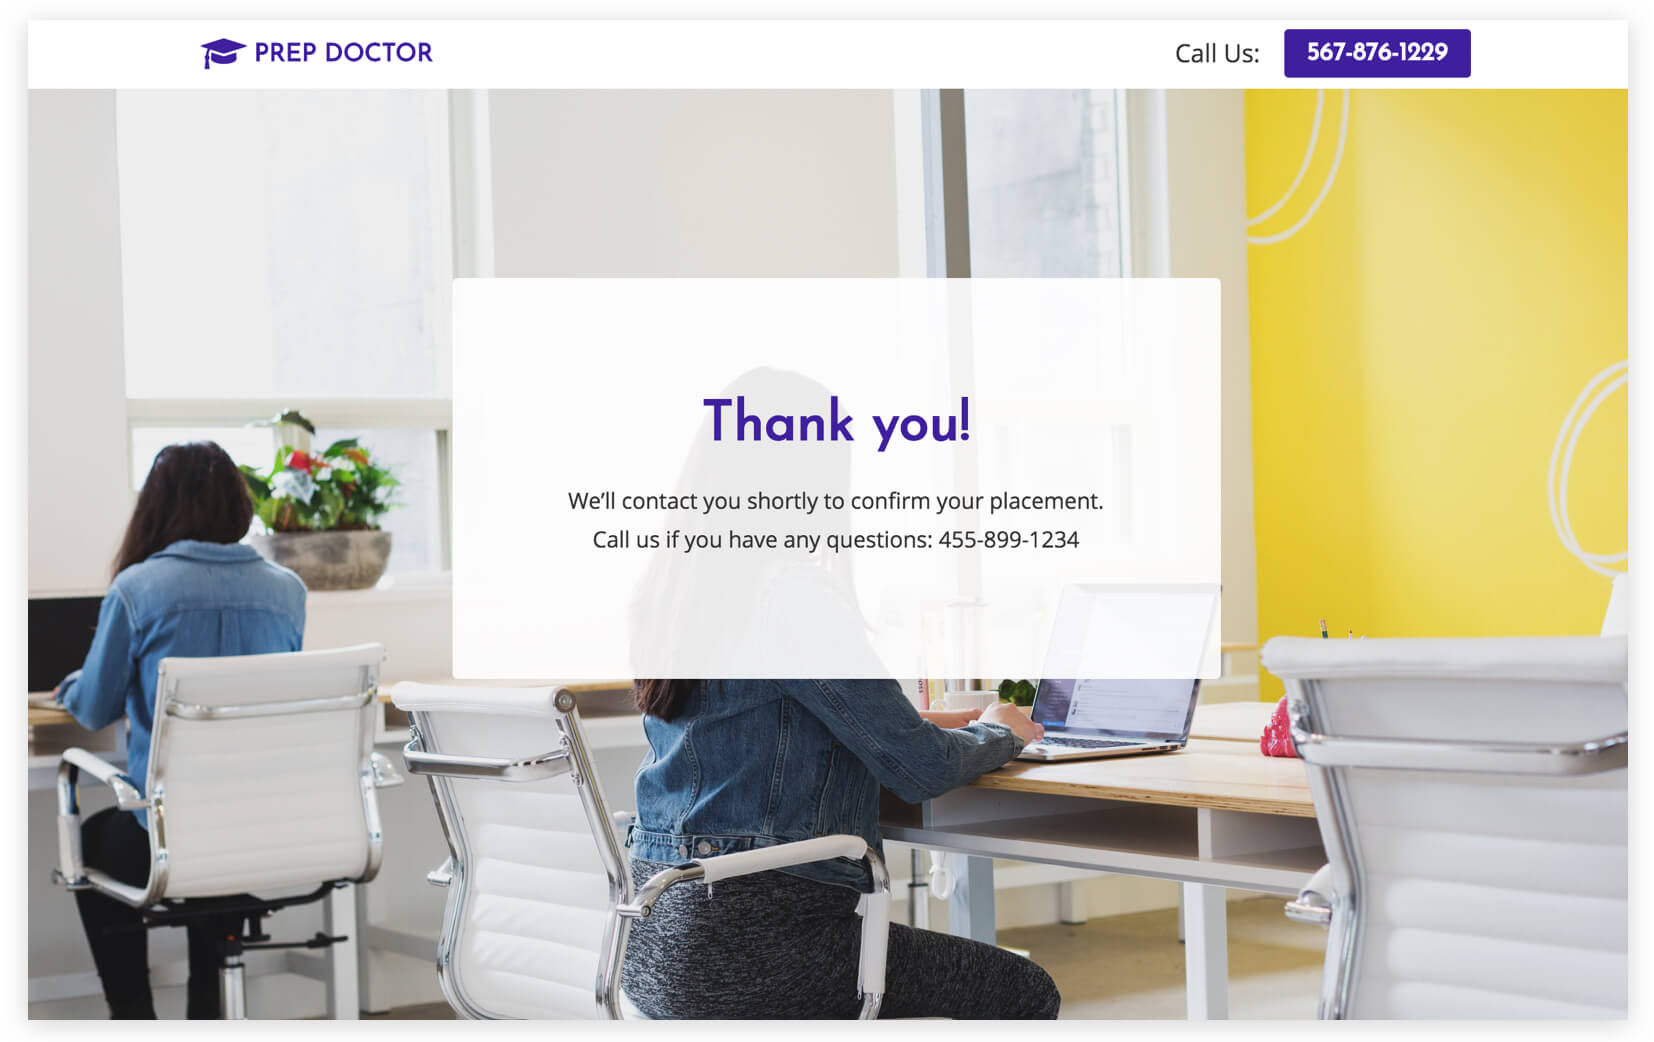
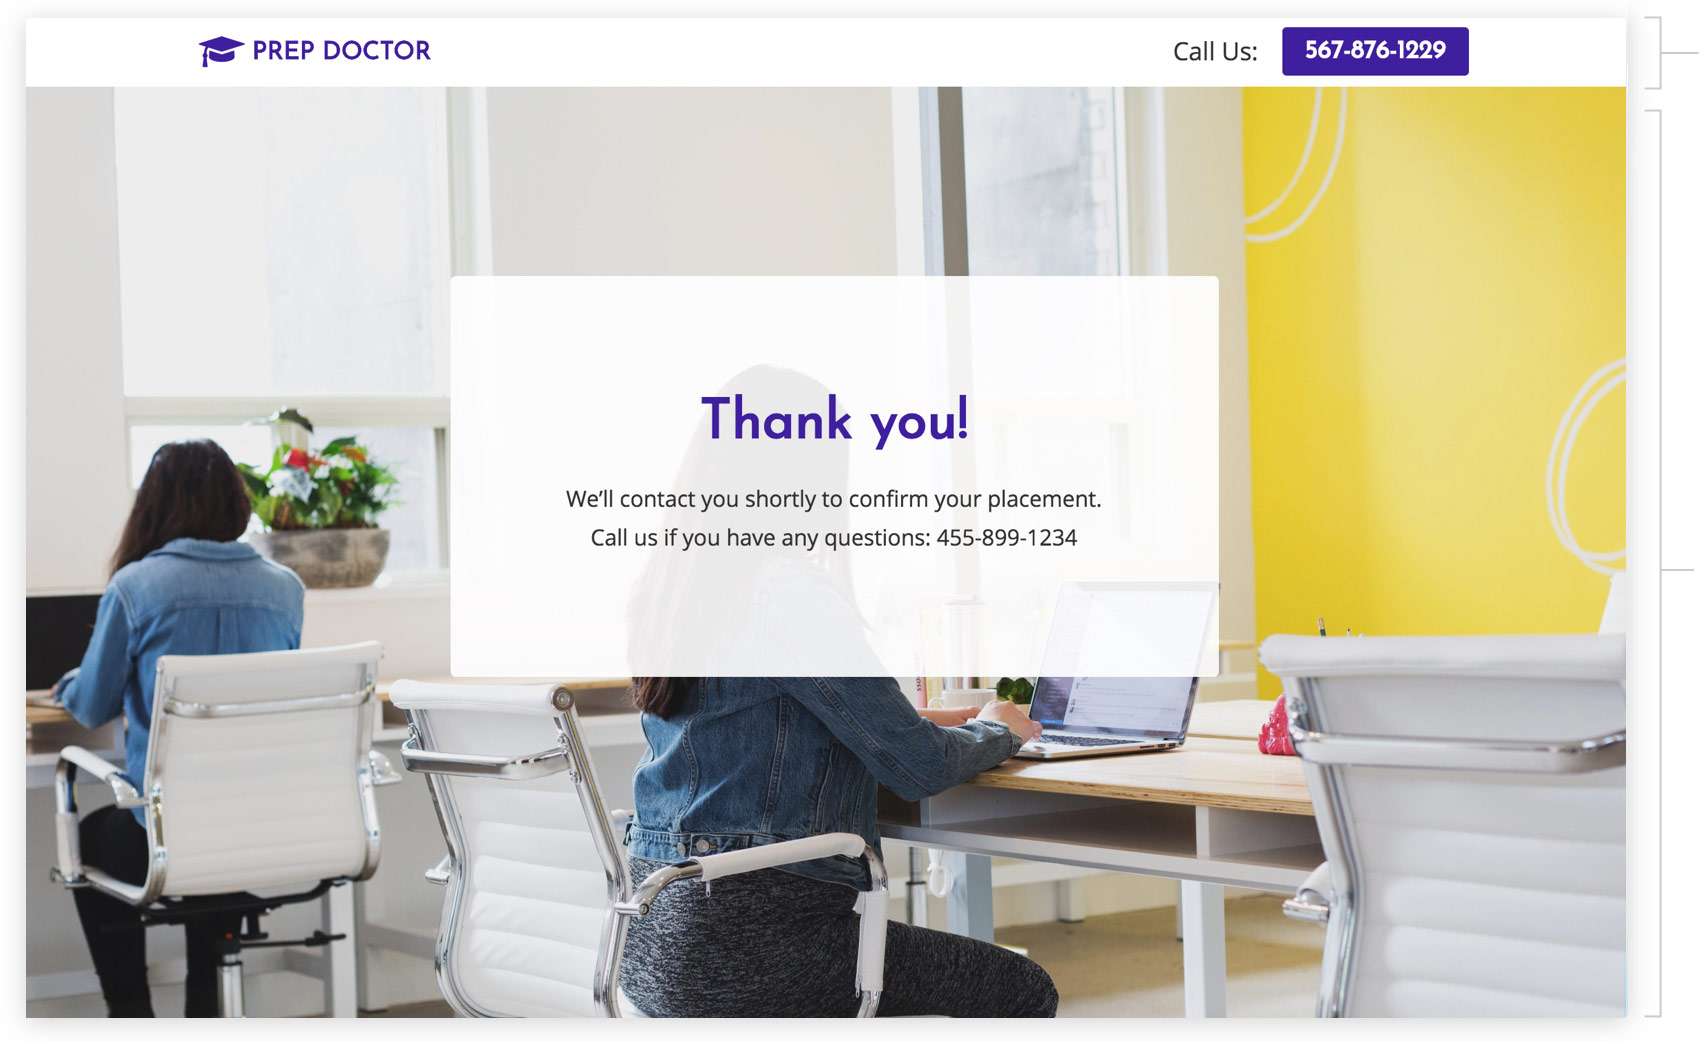
Step 3: Thank You Page
The Thank You Page shows that people have signed up successfully, and that you’ll contact them shortly to confirm their placement in the course.
Step 1: Google Adwords Ad
Google Adwords Ads make it easy for you to promote your program to people when they search for one on Google.
This is a pre-built Google Adwords Ad that we’ve used for our test prep clients. While it’s specifically for an SAT test prep course, I’ll show you how to apply the best practices to any kind of test prep service:
1. Ad
1SAT Test Prep Seattle – Sign Up Now
2www.yoursite.com/sat-tutor 1-800-921-016734Get the SAT score you need with Prep Doctor’s expert prep course.
1. Headline
In the first part of the Headline, show text that the person is likely to have entered in their Google search. This will make them feel like the Ad is personally relevant to them, and make it more likely that they’ll click. In the second part of the Headline, Book a Free Consultation, show a call-to-action. This tells people exactly what they will get when they click on the Ad, making it more likely for them to do so.
2. Display URL Path
The best thing to have in the Display URL Path is the keyword that the person entered on Google. This will make it super relevant for them, as it uses the exact words they were thinking of. You can do this using Keyword Insertion. In the Google Adwords builder, enter {keyword:SAT-Prep} into the Display Path field. This will make the Display Path show the keyword that the person searched for, or show SAT-Prep if Google can’t display the keyword.
3. Call Extension
Use the Call Extension to add your phone number to your Ad. This way, people can call you directly by clicking the Ad, which is especially useful for people who see your Ad while using their mobile phone.
4. Description
Describe your test prep course in 1-2 short sentences.
2. Keywords
Top Keywords to Target:
- +SAT
- +test prep
- +Seattle
This keyword targets people who are searching for SAT tutors in Seattle. It uses broad match modifiers for +SAT +test prep +Seattle to target people who are specifically searching for test prep in Seattle.
Note: This keyword is just a starting point. For best results you should experiment with it and try similar variations.
Why are Google Adwords Ads effective for this Campaign?
The reason they’re effective is because they’re shown to people at the moment they’re asking Google for information about test prep courses in their area. This, of course, means that they’re interested in applying for your course. So you’re able to show your Ad exclusively to an audience of people that are interested in booking, which is the most effective way to advertise.
Need Help with Google Adwords?
Step 2: Booking Page
On the Sign Up Page, people sign up using a form for your test prep program. The page has two jobs:
1. Persuade people to fill out the signup form:
The page’s main job is to persuade visitors to sign up for your test prep course using the signup form. It does this first by making it easy to sign up – by showing the signup form right at the top of the page.
The page contains several sections to persuade people to sign up:
- It provides all of the benefits and aspects of your tutoring program in an easy-to-read way
- It showcases a student testimonial to demonstrate social proof
- It explains the experience and expertise of your institution to build trust in it
2. Make it easy for people to sign up:
The signup form is displayed right at the beginning of the page so people can instantly see it and understand how to sign up.
Booking Page Sections
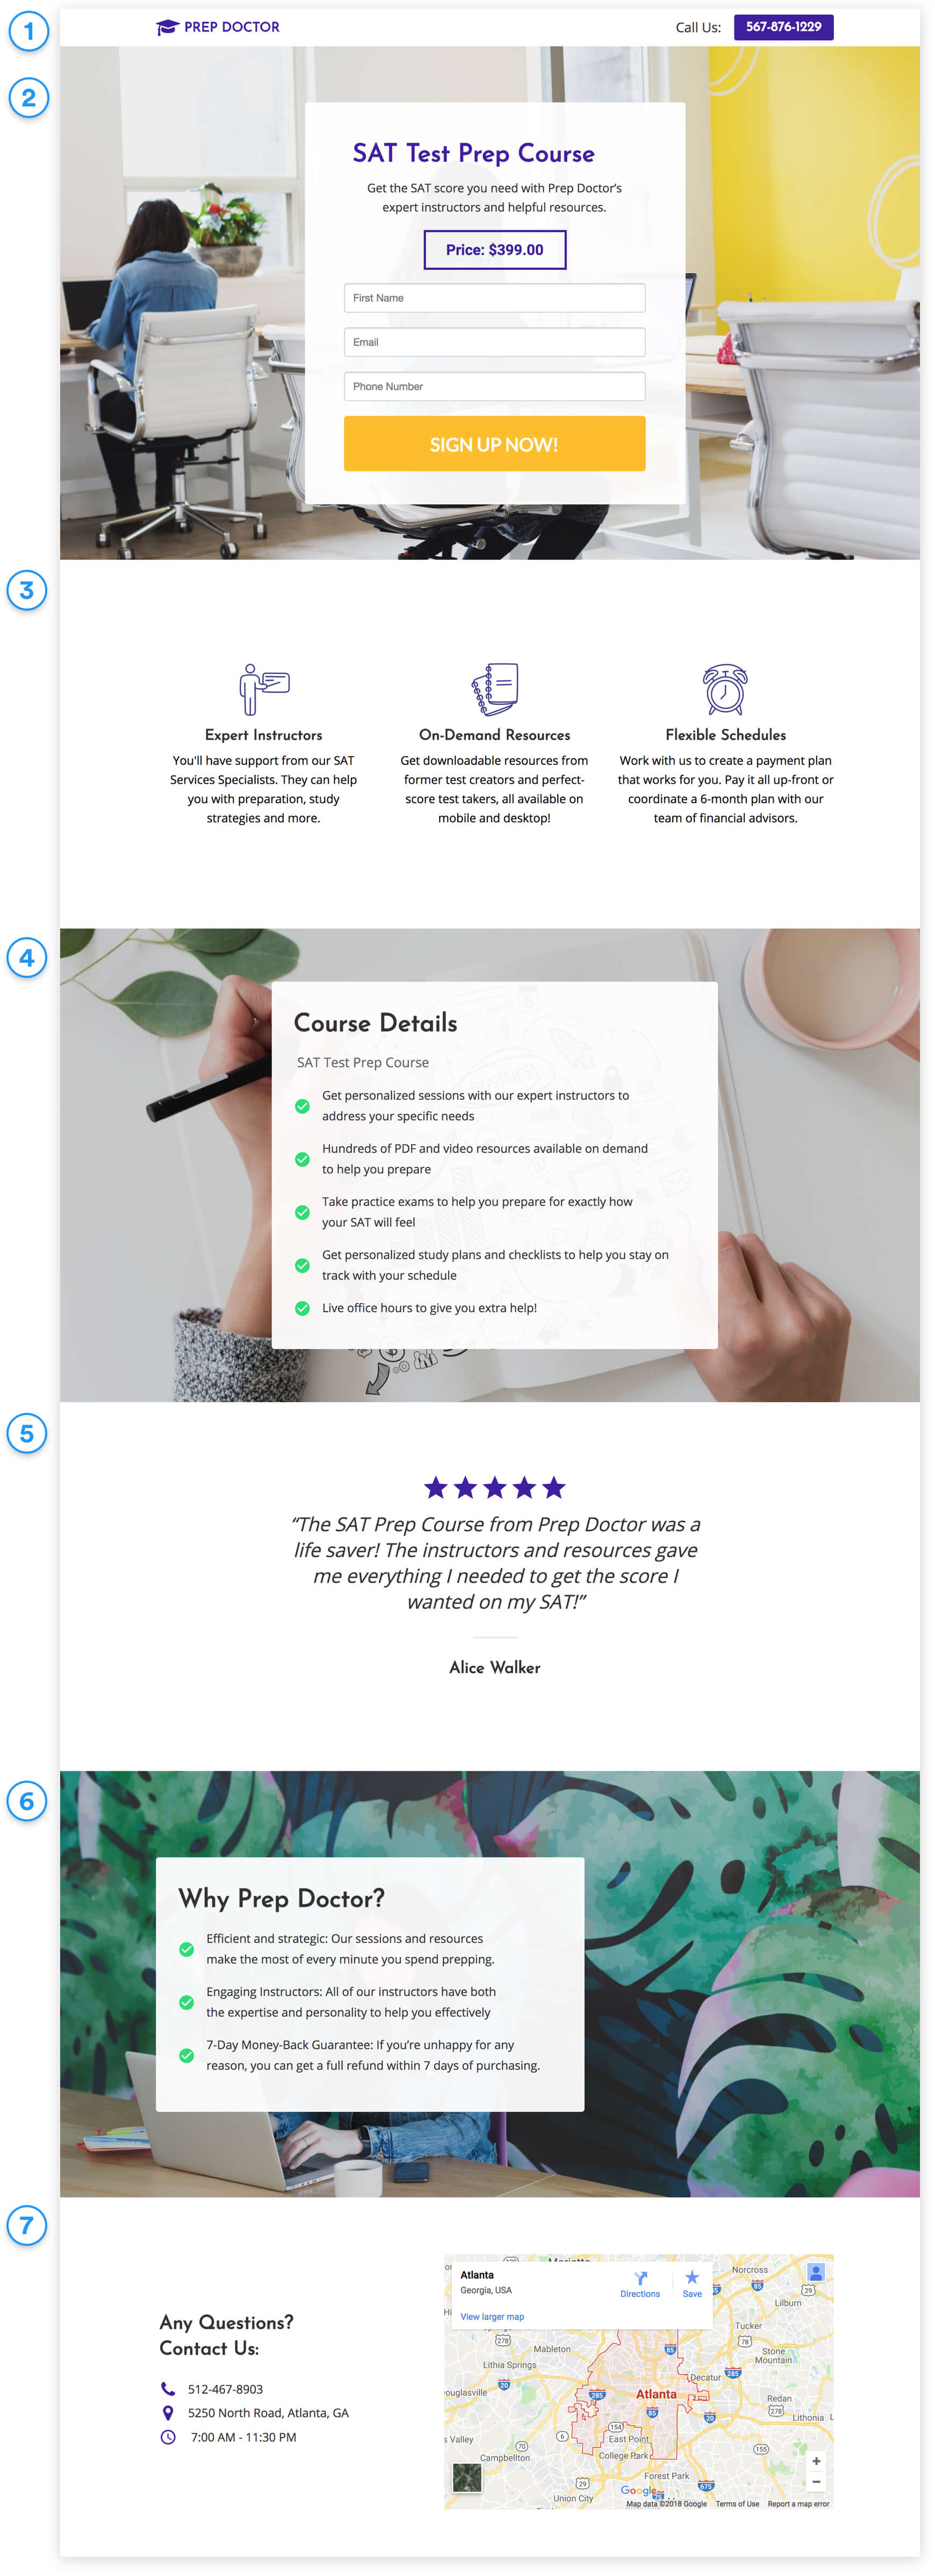

1. Top Bar
Show your institution’s logo and phone number so people can call you from the page.
2. Hero Unit
- Headline
The headline tells people the name of your course so they can immediately see what the page is about.
- Subtext
Tell people about your course and how it can help them with their test results in 1-2 sentences.
- Price
Pricing is one of the first questions people will have on this page. Make it easy for them to see by placing it here above the signup form.
3. Course Highlights
Showcase the main highlights/benefits of your course so that visitors can easily scan and digest them.
4. Course Details
Give more in-depth details on your test prep course in a bullet list to answer people’s most immediate questions about it. This will make them feel confident that this course is for them, and that they should sign up.
5. Student Testimonial
Showcase social proof of the value of your course with a testimonial. This builds trust and makes people feel comfortable signing up.
6. Why Choose You?
Discuss your experience and expertise to show visitors why they should trust you and choose you over your competitors.
7. Location & Contact Details
Show your institution’s address and phone number. This shows visitors that you’re real and legitimate, which is always important to do on the internet.
Top Bar
Show your logo and phone number so people can call you right from the page if they have any questions about your course.
Thank You Message
Thank people for signing up and tell them what will happen next: You will reach out to them soon to confirm their placement in your course.
How to create this Campaign in Wishpond
The Sign up for a Test Prep Course Campaign is available for free on any plan in Wishpond. Here’s how to use it:
- Sign up for a Wishpond account.
- Select Education as your Industry
- In the Campaigns Dashboard, click on Sign up for a Test Prep Course.
- This will take you to the Campaign Builder where you can edit the Sign Up Page and Thank You Page. They’ll look just the same as they do above, and you’ll be able to edit and style them however you want.
- Publish your Campaign to your website or a wishpond.com URL.
- Create your Google Ad and set the Ad’s Destination URL to the Campaign URL.
